Deploy Summit Finance
Modern invoicing created by kugie.app, designed for small businesses.

minio-console
Just deployed
MinIO
Just deployed
/data
summit
Just deployed

Slack Webhook
Just deployed

Just deployed
/var/lib/postgresql/data
Summit Finance
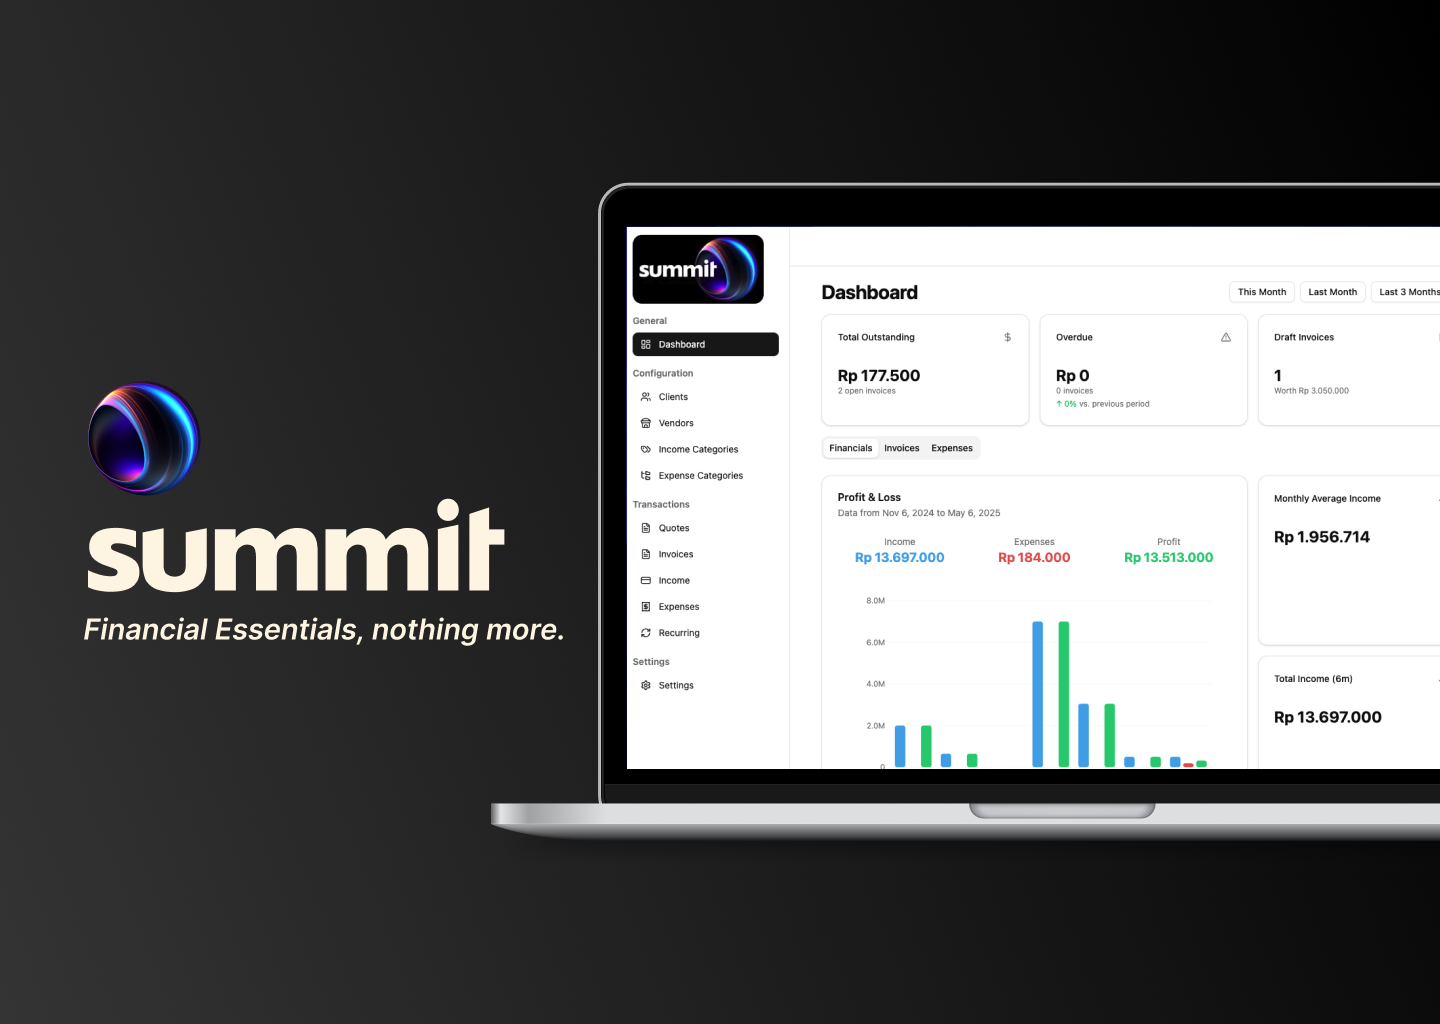
Summit Finance is a modern invoice and financial management app for small businesses, created by Kugie.
Deploy and Host
Deploy Summit Finance to Railway with one-click and get your invoicing system running in under 3 minutes. Includes PostgreSQL database, MinIO storage, and web application.
About Hosting
Summit Finance runs on Railway's cloud infrastructure providing:
- Automatic scaling for growing invoice volumes
- Managed PostgreSQL with automated backups
- MinIO object storage for attachments
- SSL certificates and enterprise security
- 99.9% uptime guarantee
Why Deploy
Small Businesses: Stop paying monthly invoicing fees, own your data, customize features Developers: Full source access, modern tech stack, easy integrations Agencies: Deploy for multiple clients, white-label solution, recurring revenue
Common Use Cases
- Freelancers: Professional invoicing, expense tracking, online payments
- Service Businesses: Recurring billing, payment processing, client management
- E-commerce: B2B invoicing, supplier management, financial reporting
- Agencies: Multi-client billing, project tracking, team collaboration
- Startups: Scalable payment infrastructure, professional invoicing
Dependencies for
Core: Railway, PostgreSQL, MinIO (auto-provisioned) Payment: Xendit account required for payments Email: Resend account recommended for notifications Optional: Slack webhooks, custom domain
Deployment Dependencies
Auto-provisioned: PostgreSQL, MinIO, Node.js runtime Manual setup: Xendit account, Resend account, environment variables
Required environment variables:
XENDIT_SECRET_KEY=your_key
XENDIT_CALLBACK_VERIFICATION_TOKEN=your_token
RESEND_API_KEY=your_key
RESEND_FROM_EMAIL=your_email
Quick Start
Prerequisites
- Railway account
- Xendit account (payments)
- Resend account (email)
Step 1: Deploy
Click "Deploy to Railway" - automatically sets up PostgreSQL, MinIO, and web app.
Step 2: Configure Environment Variables
Email (Recommended):
- Get Resend API key
- Add to Railway:
RESEND_API_KEY=your_key
[email protected]
RESEND_FROM_NAME=Your Name
Payments (Required):
- Get Xendit API keys
- Add to Railway:
XENDIT_SECRET_KEY=your_key
XENDIT_CALLBACK_VERIFICATION_TOKEN=your_token
Step 3: Enable File Uploads
- Access MinIO Console from Railway
- Create new access key
- Update environment variables:
MINIO_ACCESS_KEY=generated_key
MINIO_SECRET_KEY=generated_secret
- Restart application
Step 4: First Login
- Open deployed app
- Create admin account
- Set up company profile
Setup Guides
Xendit Setup
- Create account at xendit.co
- Navigate to Settings > API Keys
- Generate Secret Key
- Copy Webhook verification token
- Add both to Railway environment
Resend Setup
- Sign up at resend.com
- Create API Key
- Verify sender email
- Add key and email to Railway
Slack Webhooks (Optional)
- Create Slack app at api.slack.com/apps
- Enable Incoming Webhooks
- Add webhook to workspace
- Copy URL to
SLACK_WEBHOOK_URL
MinIO Access Keys
- Access MinIO Console from Railway
- Go to Access Keys > Create access key
- Save both keys
- Add to Railway environment variables
- Restart application
Troubleshooting
- Email issues: Verify Resend API key and sender email
- File uploads fail: Check MinIO access keys
- Payment problems: Verify Xendit account and API keys
- Database issues: Restart Railway service
For help, check our GitHub repository or contact Kugie.app.
Template Content
minio-console
railwayapp-templates/minio-consoleMinIO
minio/minio:latestsummit
kugie-app/summitSlack Webhook
ghcr.io/railwayapp/function-bun:1.2.10